
What better way to ingrain in our Science students the application of Science in actual hands-on work!
The potato battery has been used in school experiments for a long time. While commercial kits are available, we decide to get our hands wet and dirty to make one from raw materials and bits and pieces of electrical apparatus.
Common Misconception
Most students (and some adults) believe that the energy of a Potato Battery comes from the potato.
But no. Its energy comes from the 2 different metals inserted into the Potato Battery. They differ in their reactivity according to the Reactivity Series or Electrochemical Series – a concept which is only covered in Upper Secondary Chemistry.
In our hands-on experiment, we at first tried a copper strip and a screw. The results were bad, probably because the screw was made of some fancy steel. In a second session, we used a copper strip and a zinc strip. This combination gave results close to theory.
What is the purpose of the potato then? It acts as an electrolyte to conduct the electric current within the battery! Therefore, any item which allows a current to flow through can be substituted for the potato. Tomato, orange, apple, a can of Coke – all should work. But we decided to stick to tradition of using a potato, not to mention that it was less messy.

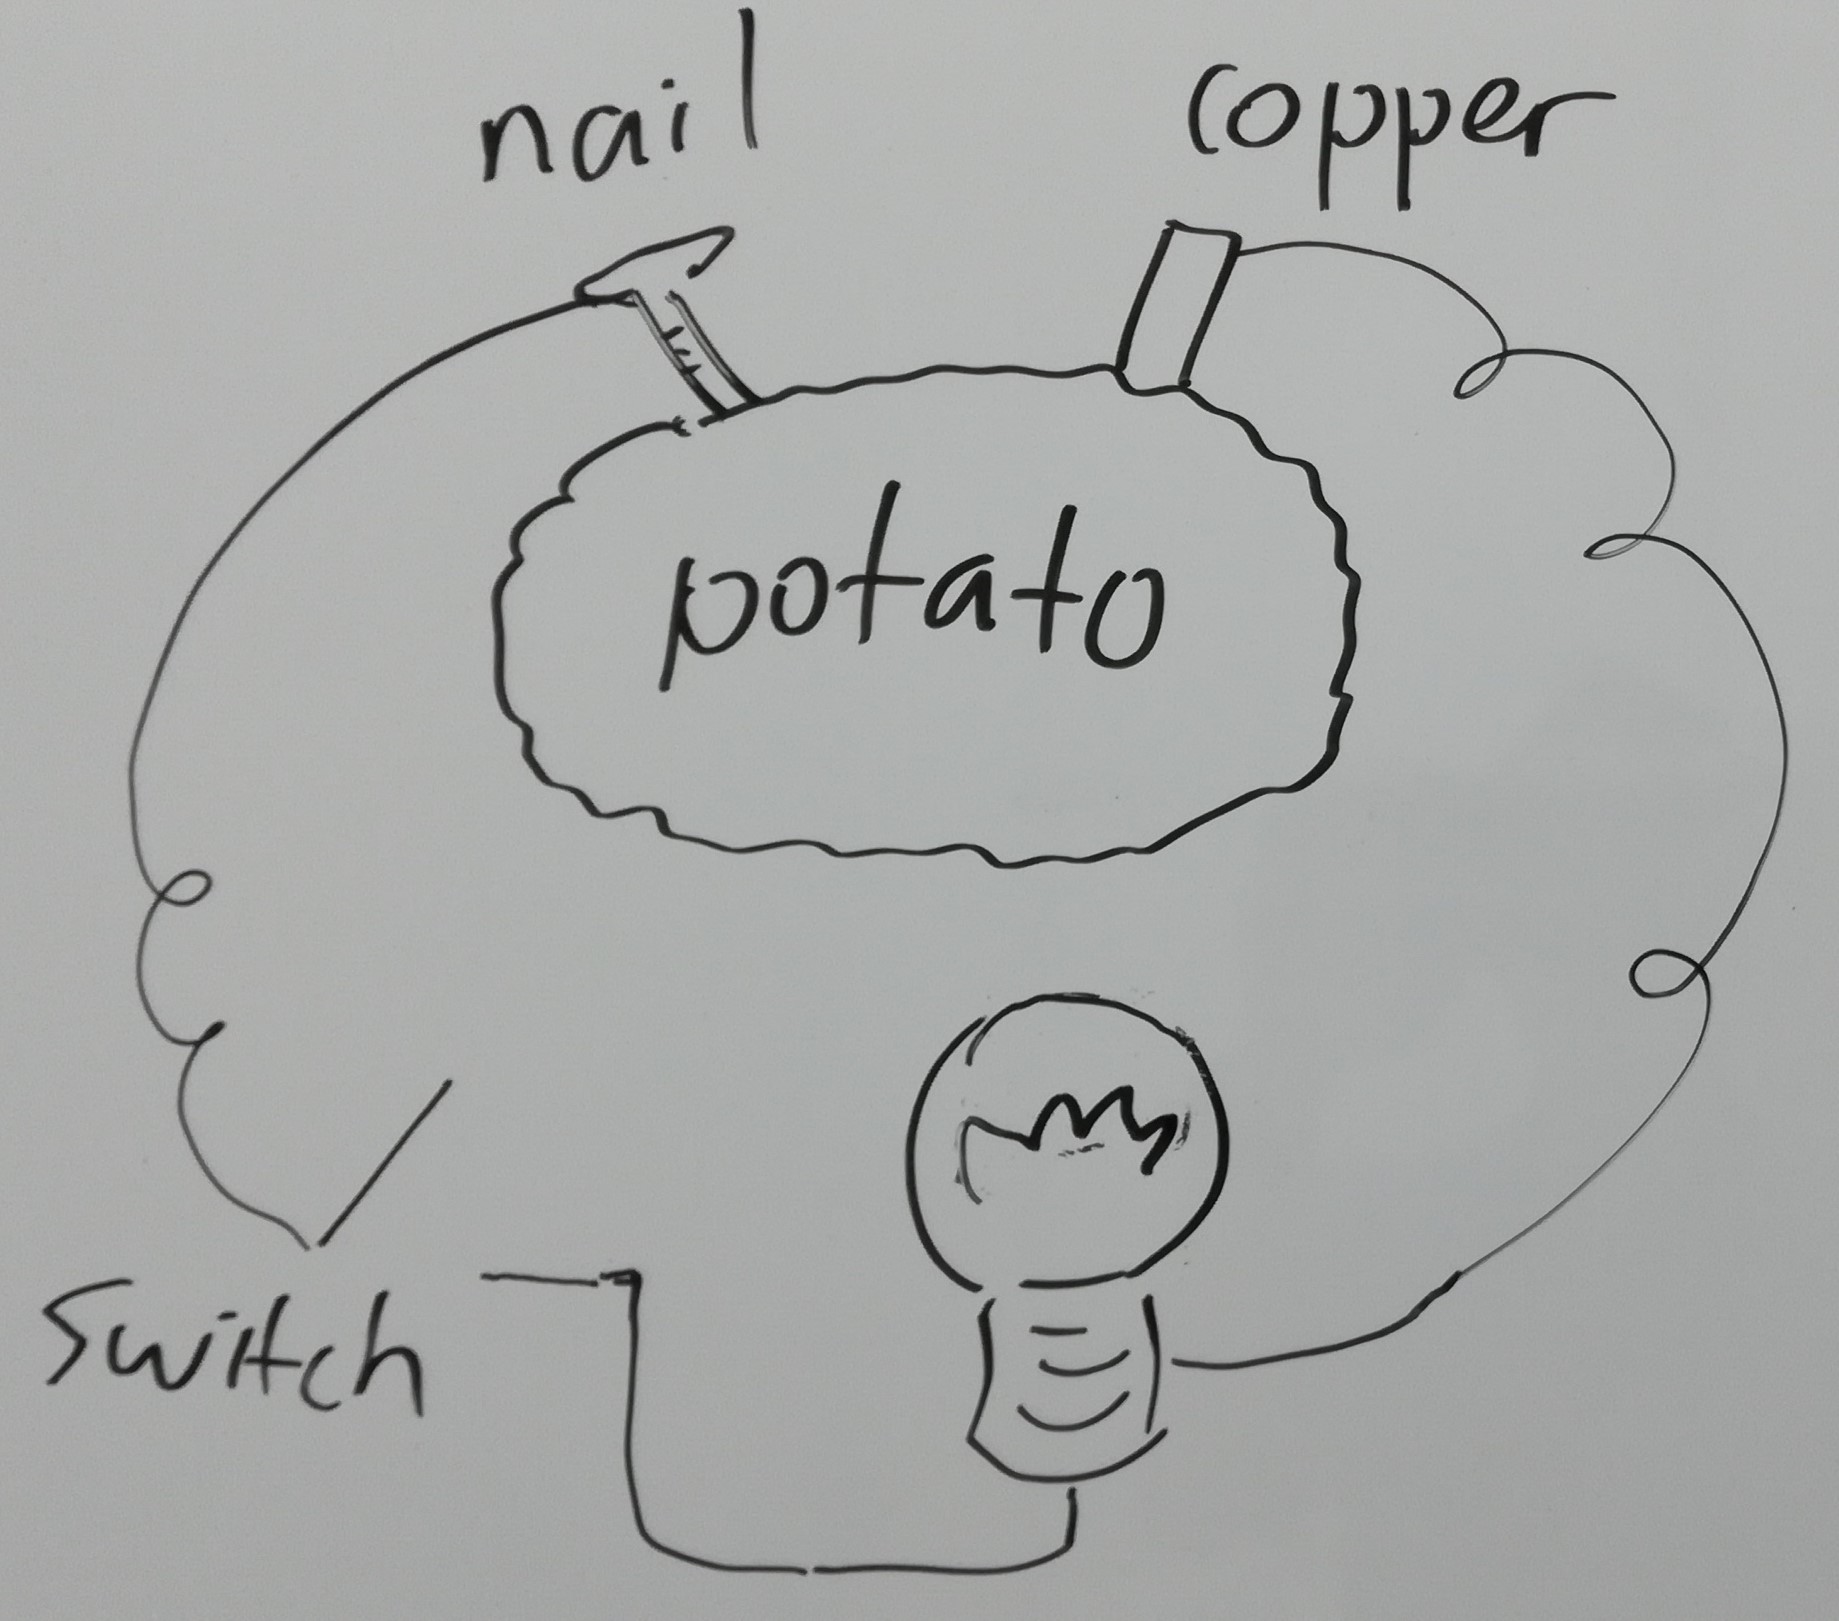
Instructions to Build a Potato Battery
- For clear and comprehensive instructions, you may refer to WikiHow.
- Otherwise, for some quick and dirty instructions, continue reading.
- Get a fresh, juicy potato. This will ensure a good flow of the current.
- Get clean and pure strips of copper and zinc – 1 each. Polish them up if they seem corroded or dirty. (While other combinations of metals can be used, copper and zinc seem to give the best results.)
- Stick the metal strips into the potato, making sure they don’t touch each other.
- Connect up the Potato Battery to an electrical device and watch it jump to life!
- Unfortunately, 1 Potato Battery only provides a voltage of less than 1V so you may need to repeat the above steps to make 2 or 3 Potato Batteries to generate enough volts to power up your device.

Learning Points from Potato Battery Experiment
As in any Science hands-on work, discussion and reflection after the experiment are critical to the learning process of the students.
- Perhaps the most important lesson of all – theory and practice do not always match for the simple reason that a real environment has many uncontrolled and possibly unknown factors.
- Real-life work is likely to fail on the first try because you are likely to have missed out something.
- The key to success is to ponder on your failure, find out the possible reasons why it failed and try again… and again… and again till you succeed.
- To us, the above process reinforces a student’s learning and motivates him to learn more.
Here at iMatter, we are firm believers that Science should best be learnt through practical applications and examples.
If you are interested in our Programmes, you can check out our Primary Science Tuition Class, Lower Secondary Science Tuition Class or Chemistry Tuition Class.